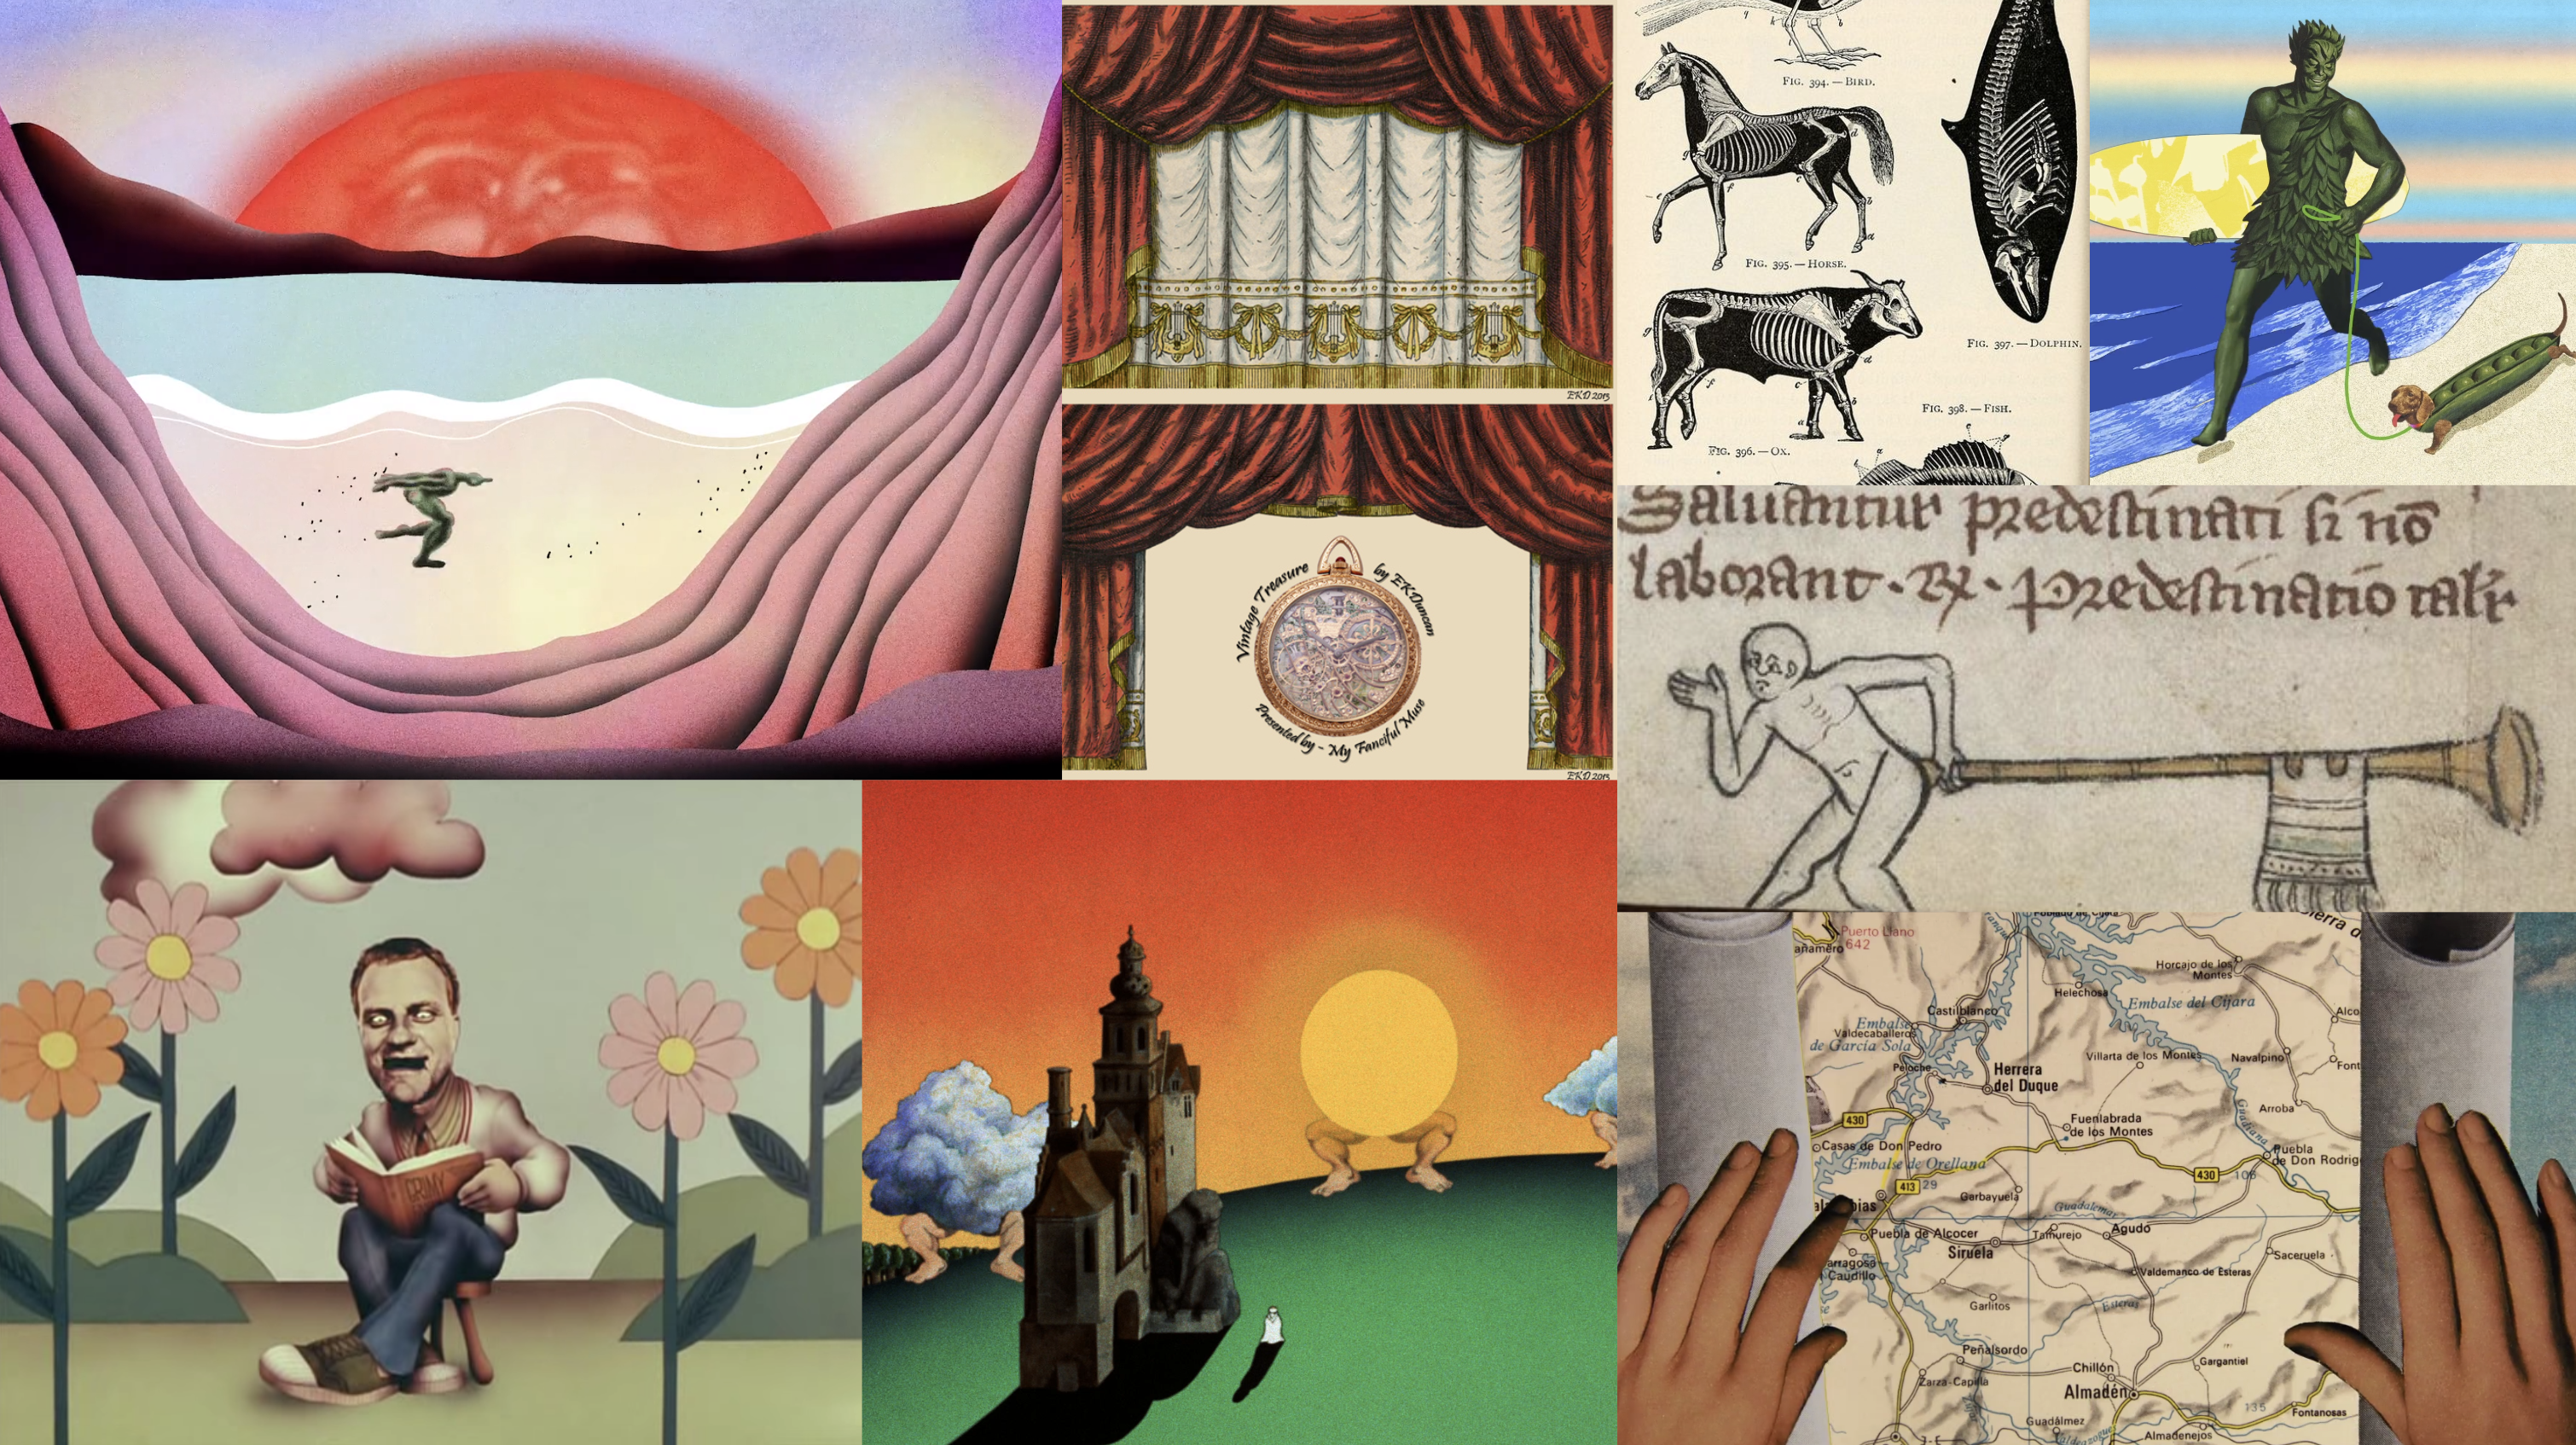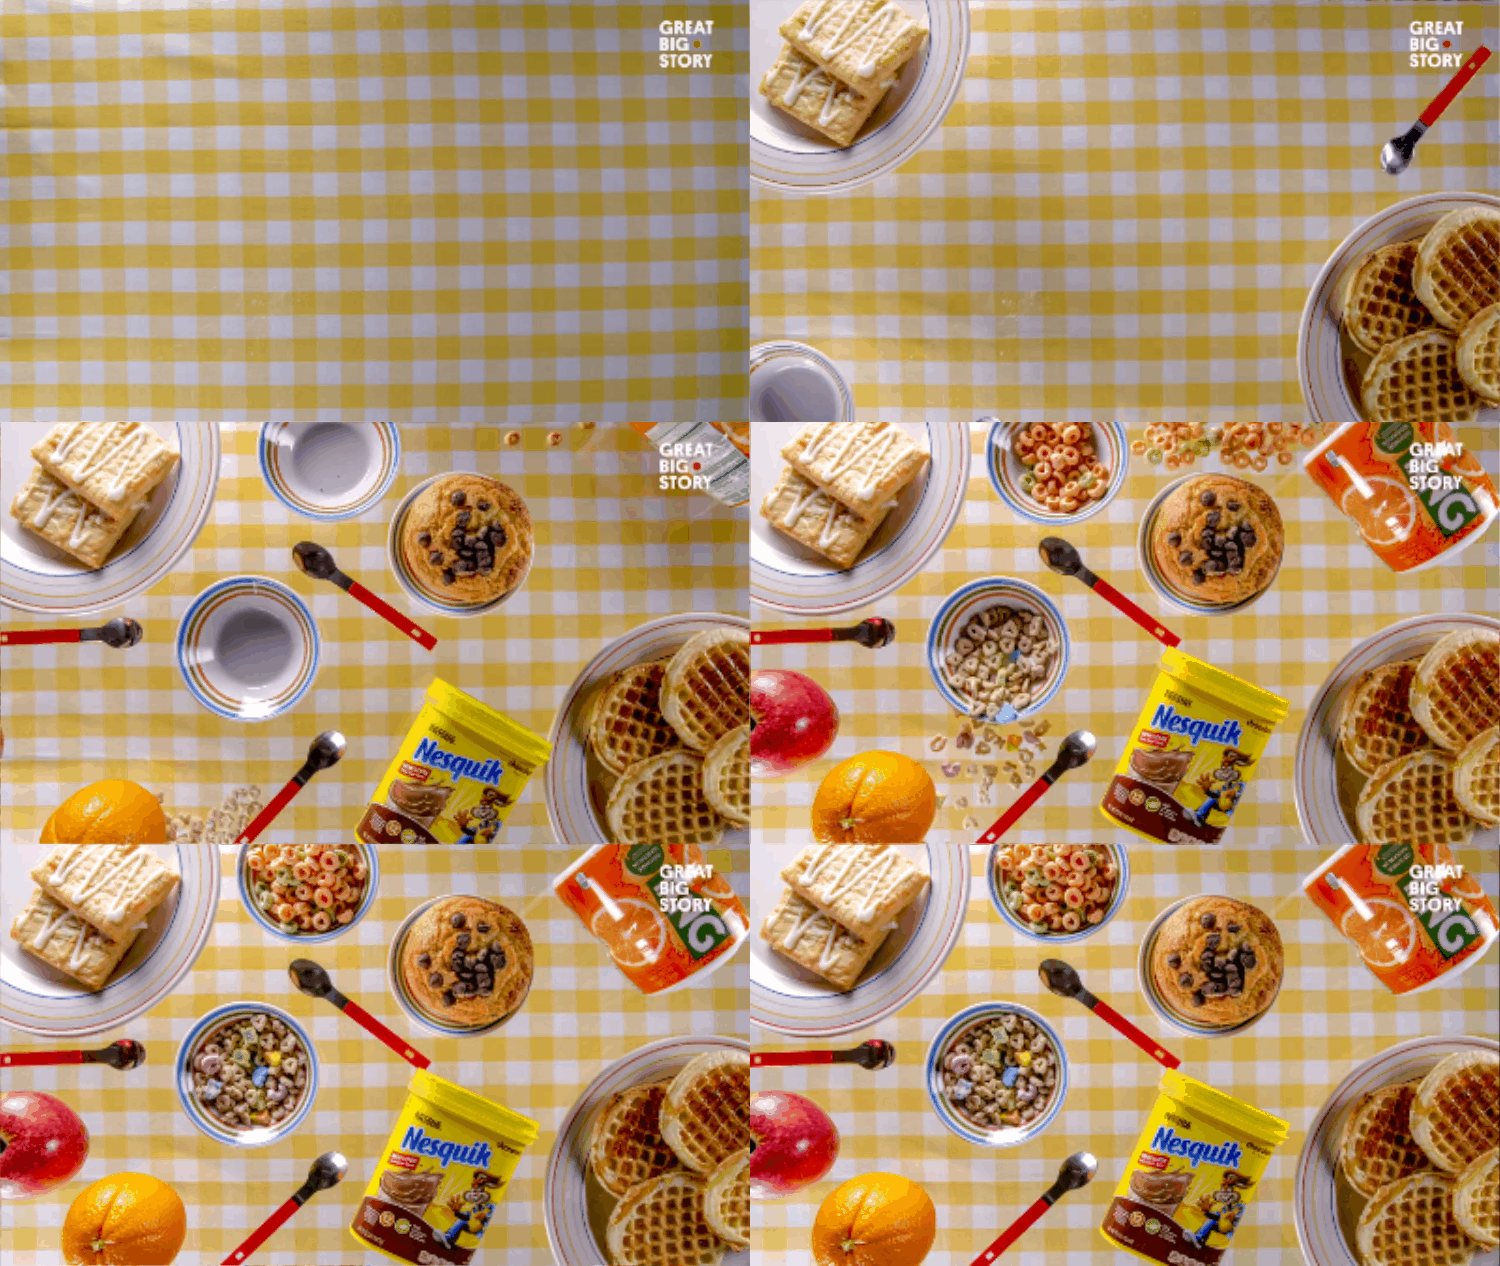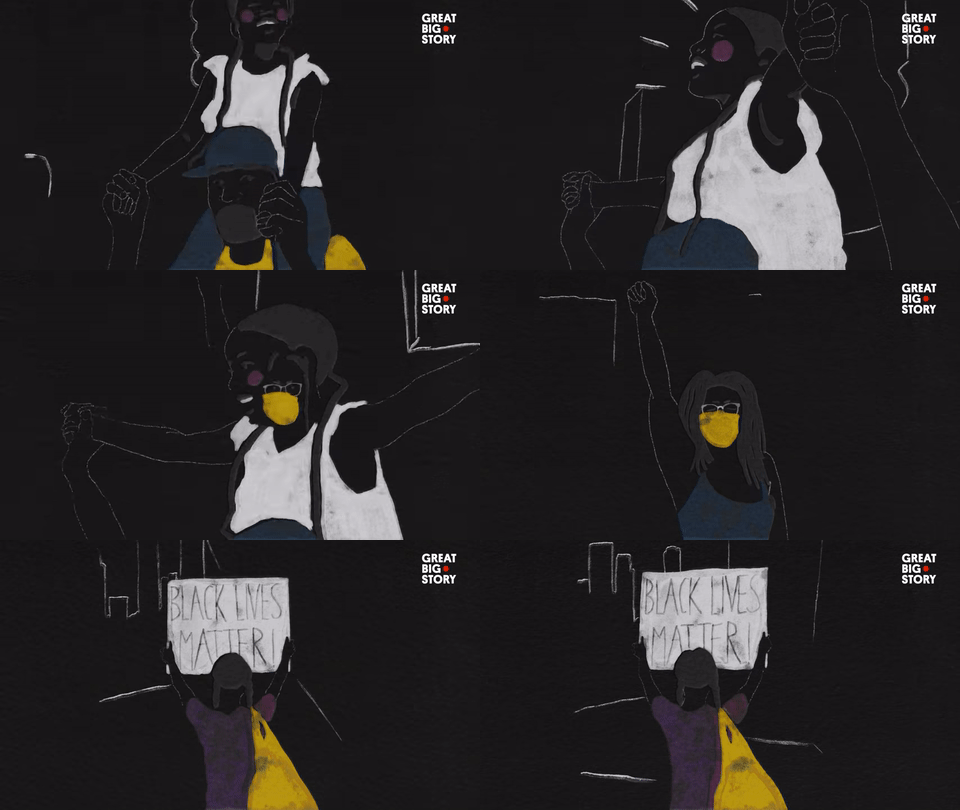
mood board
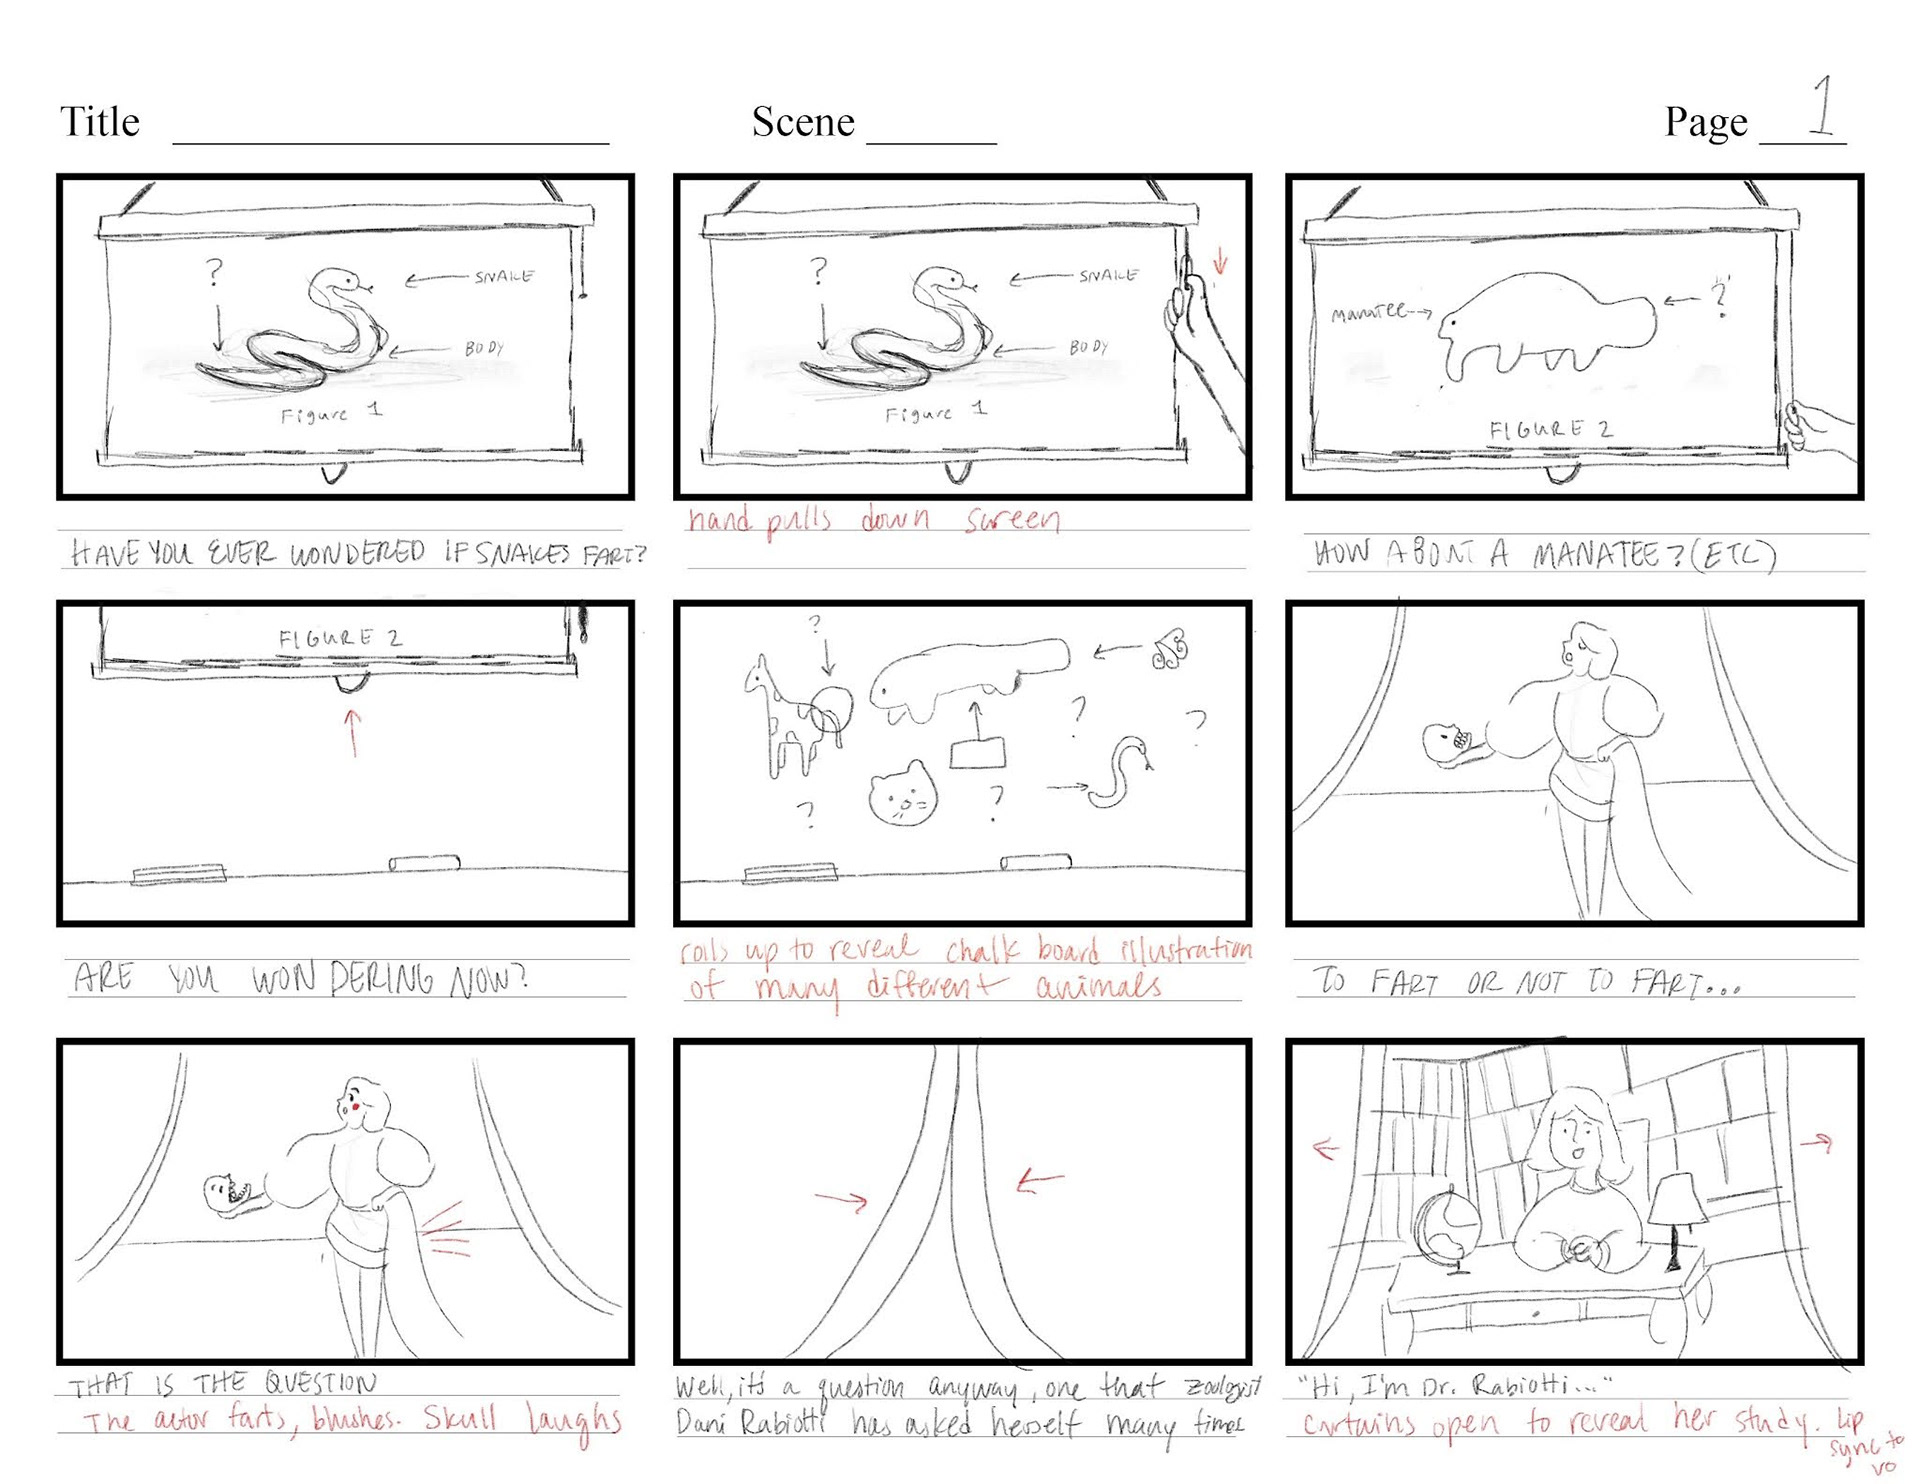
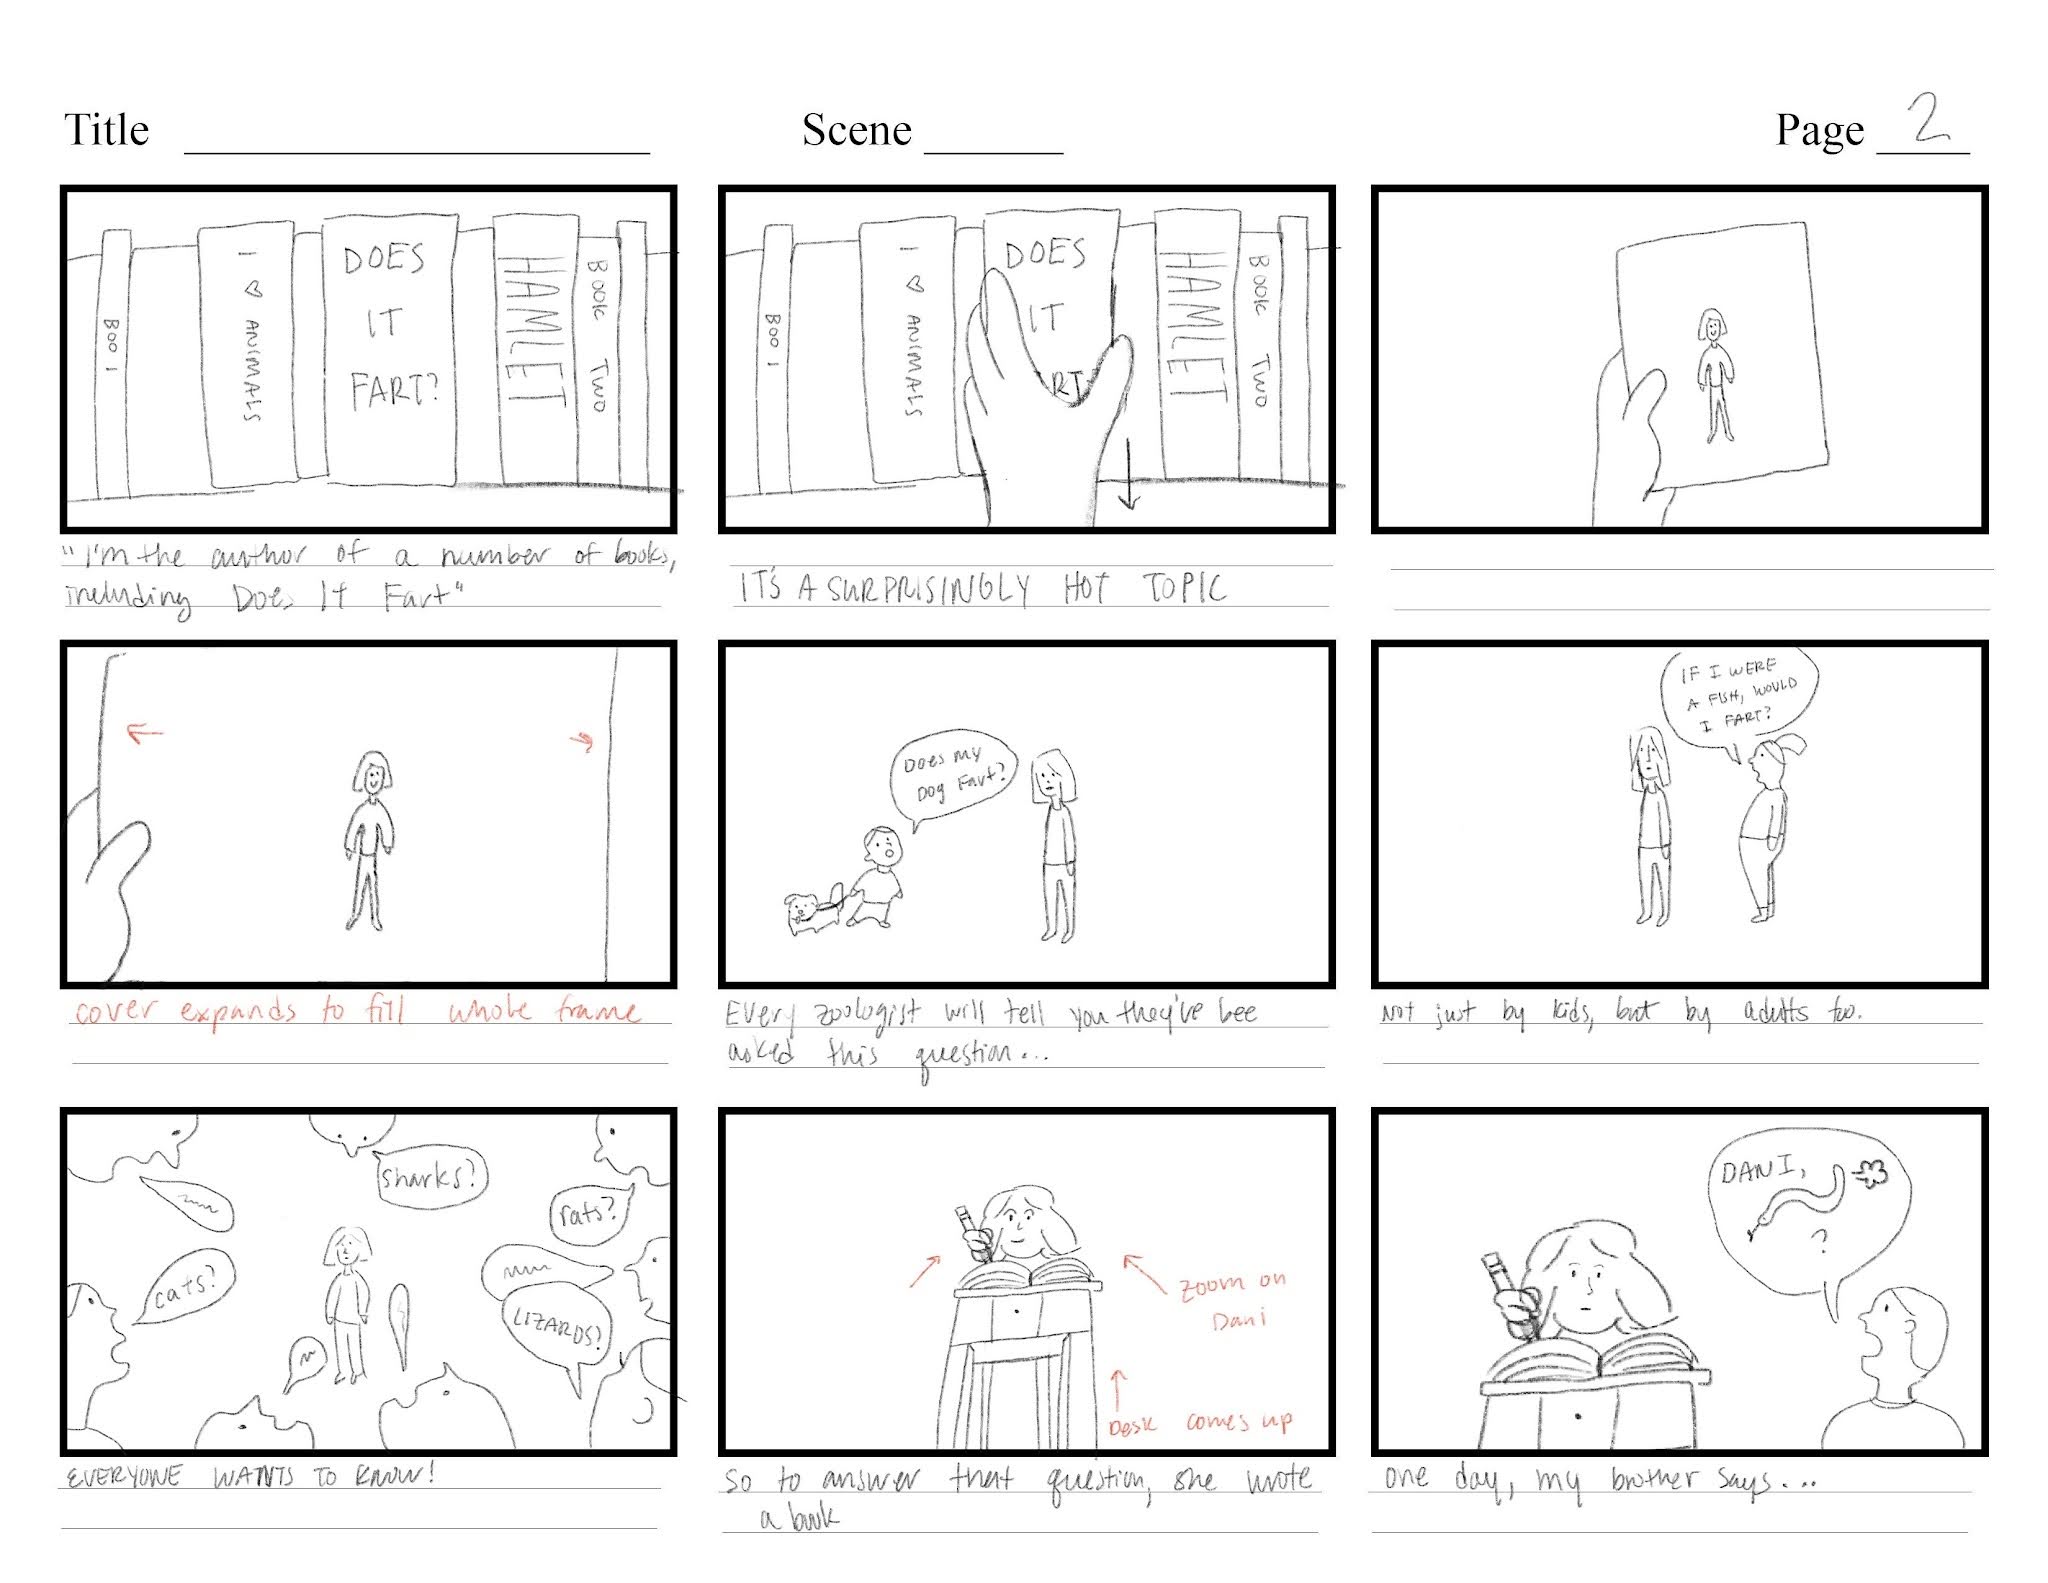
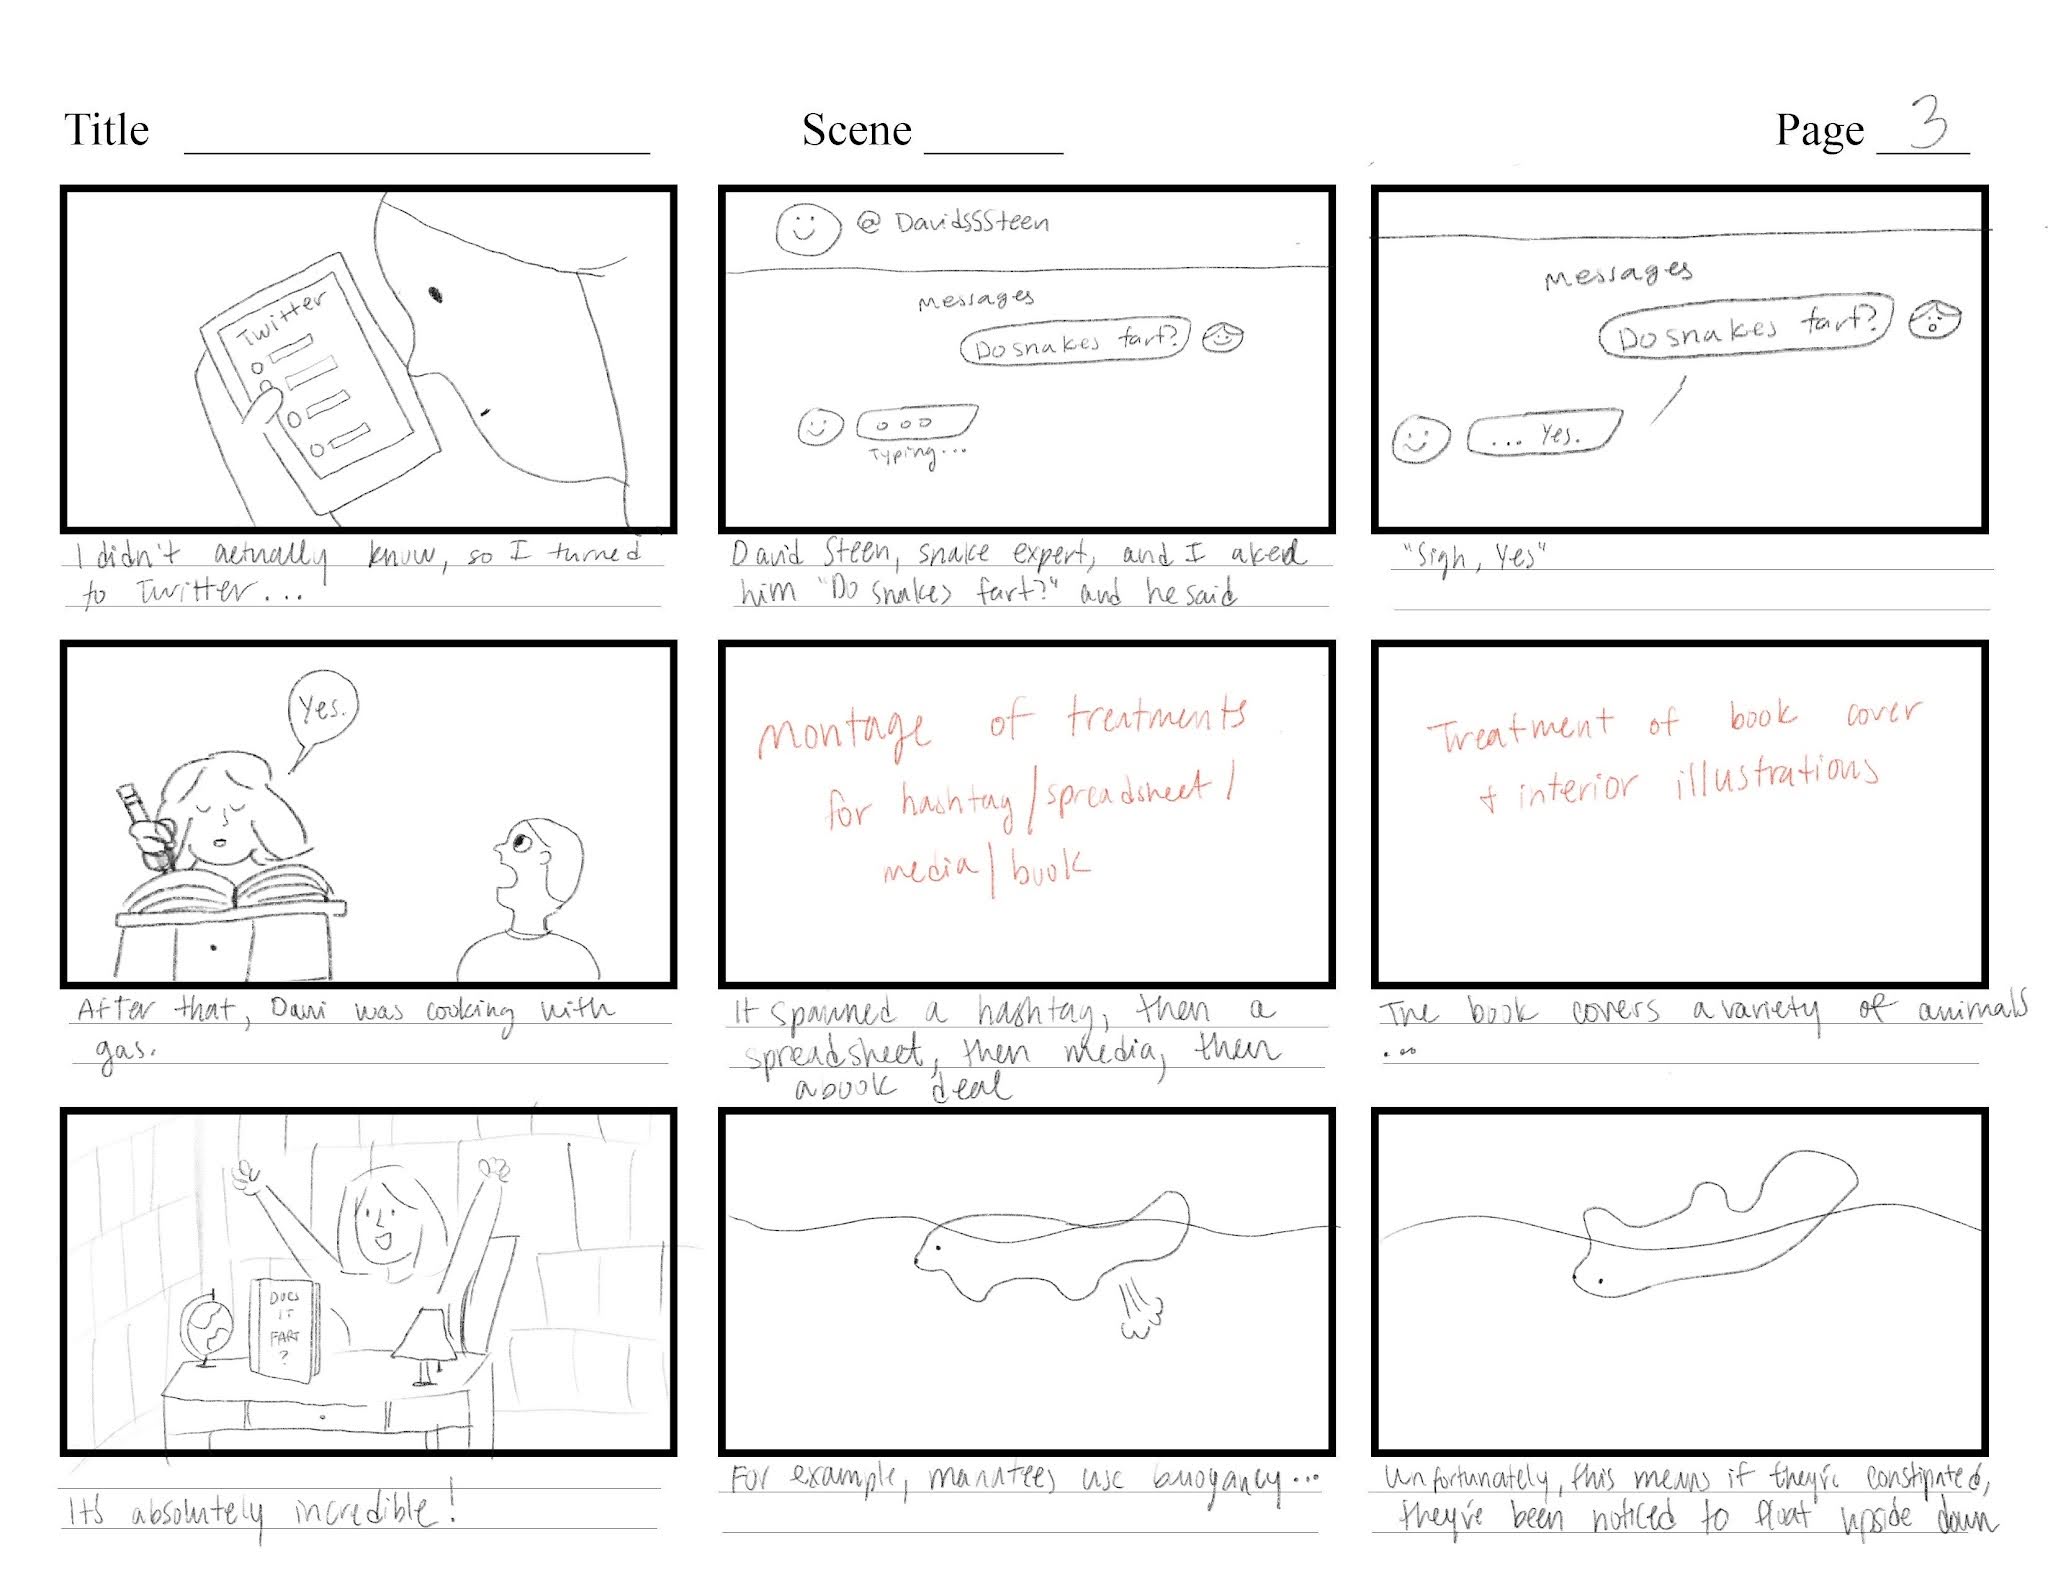
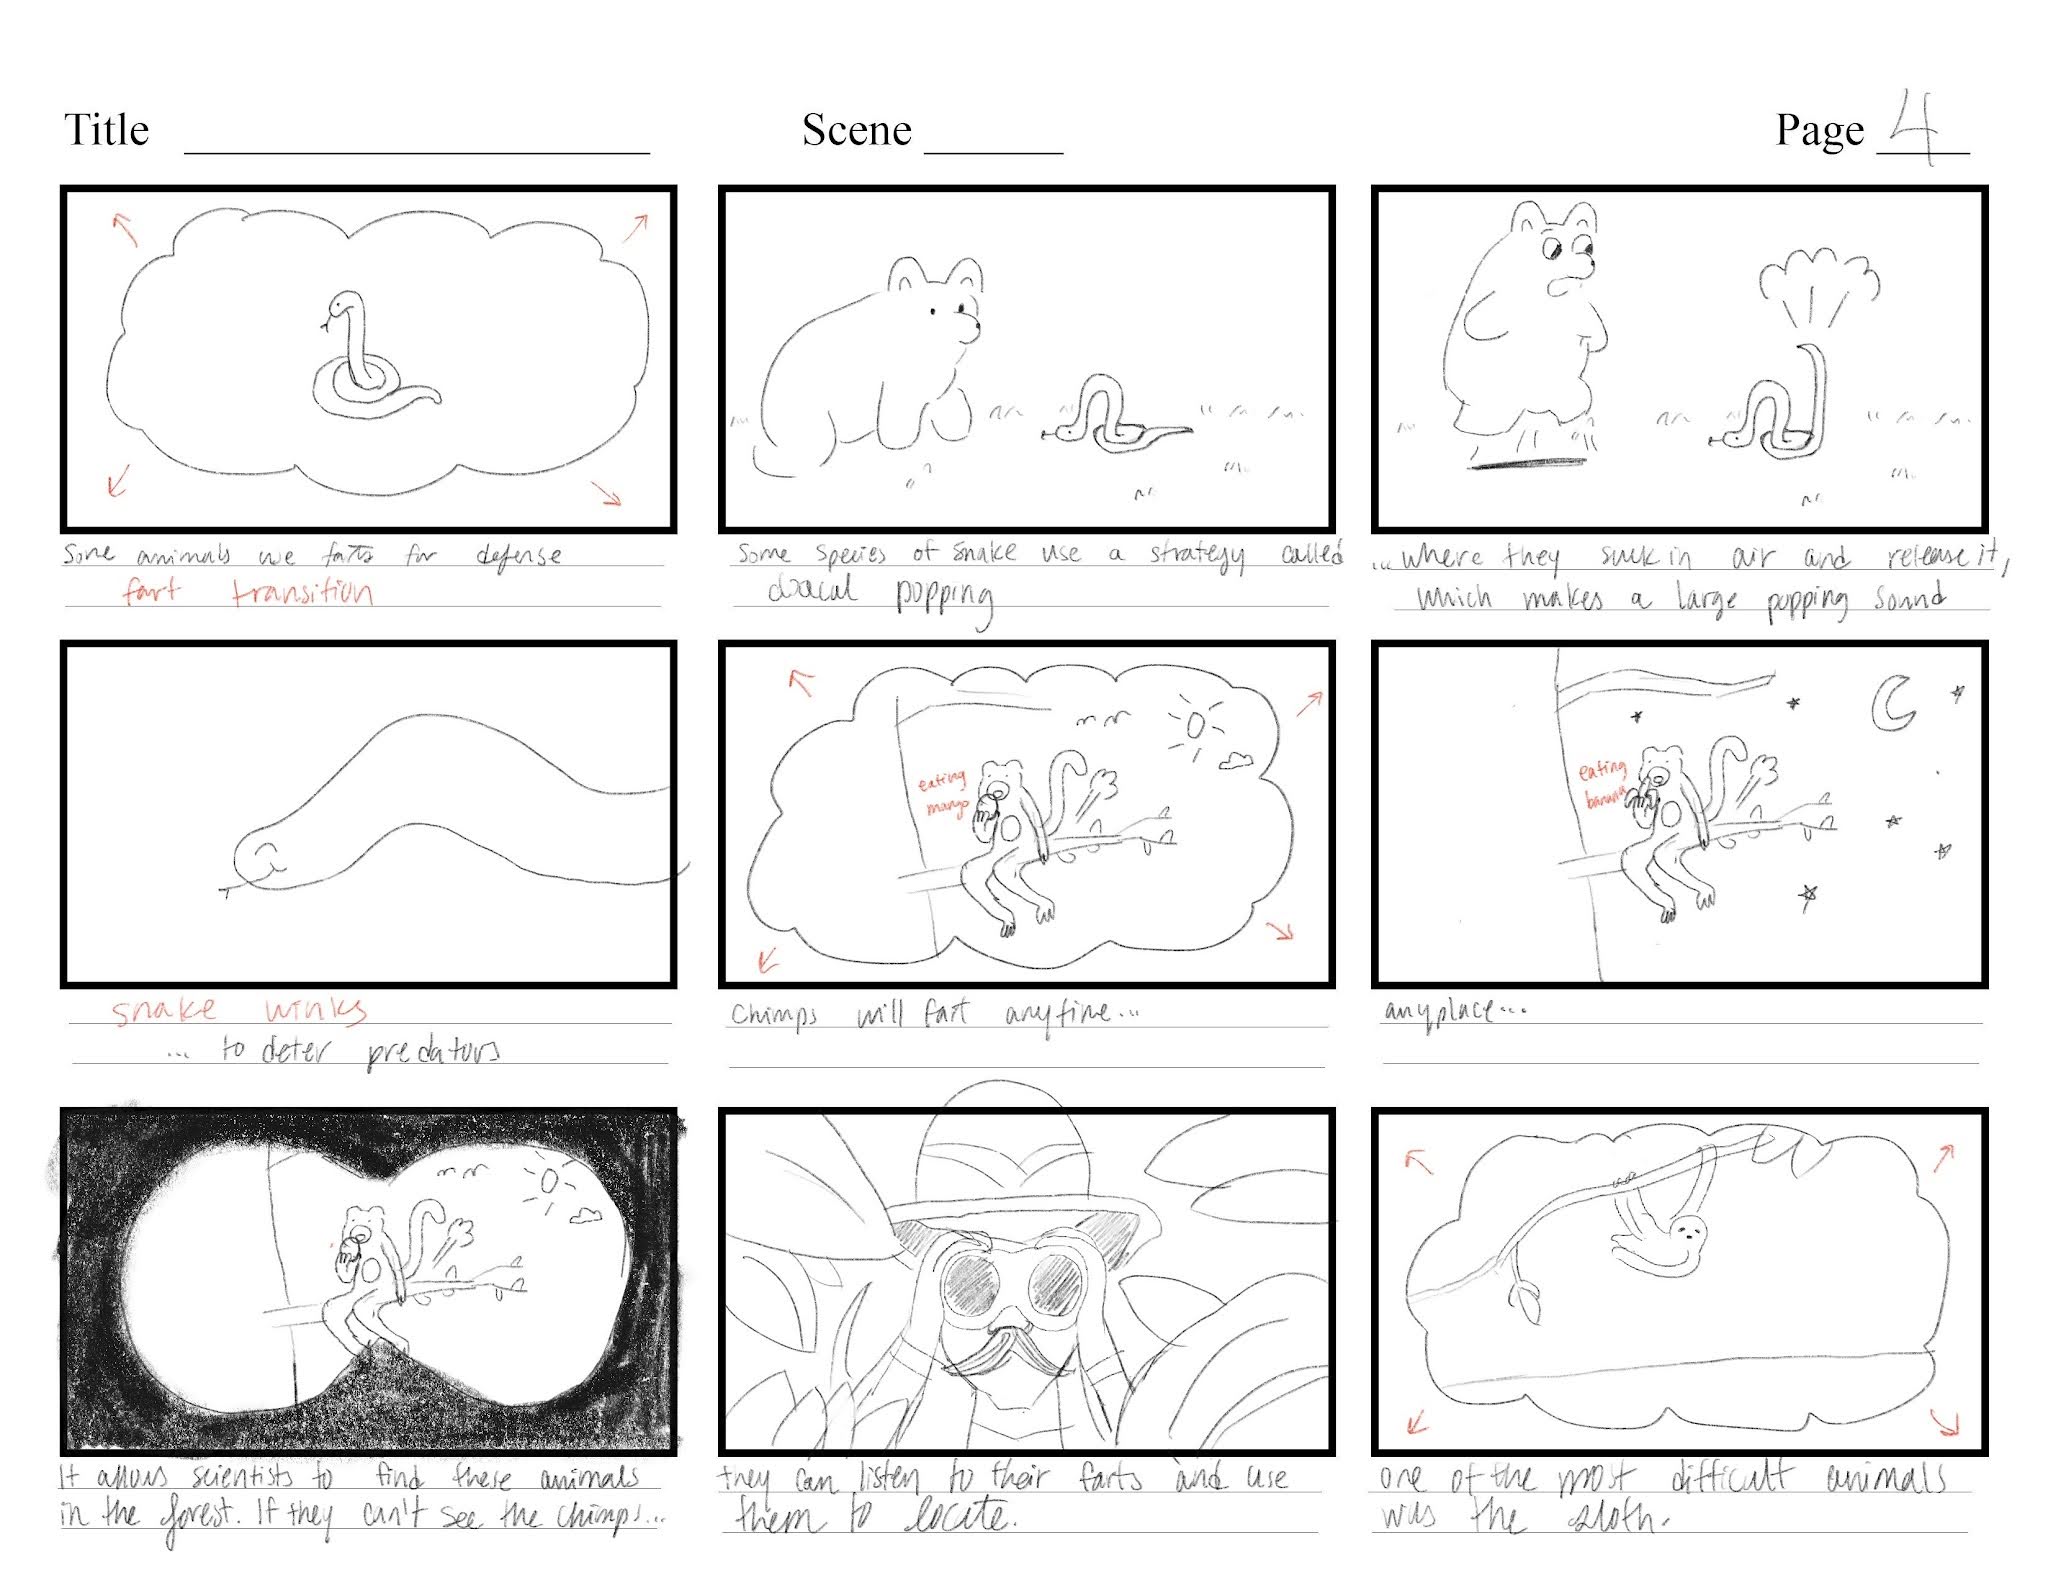
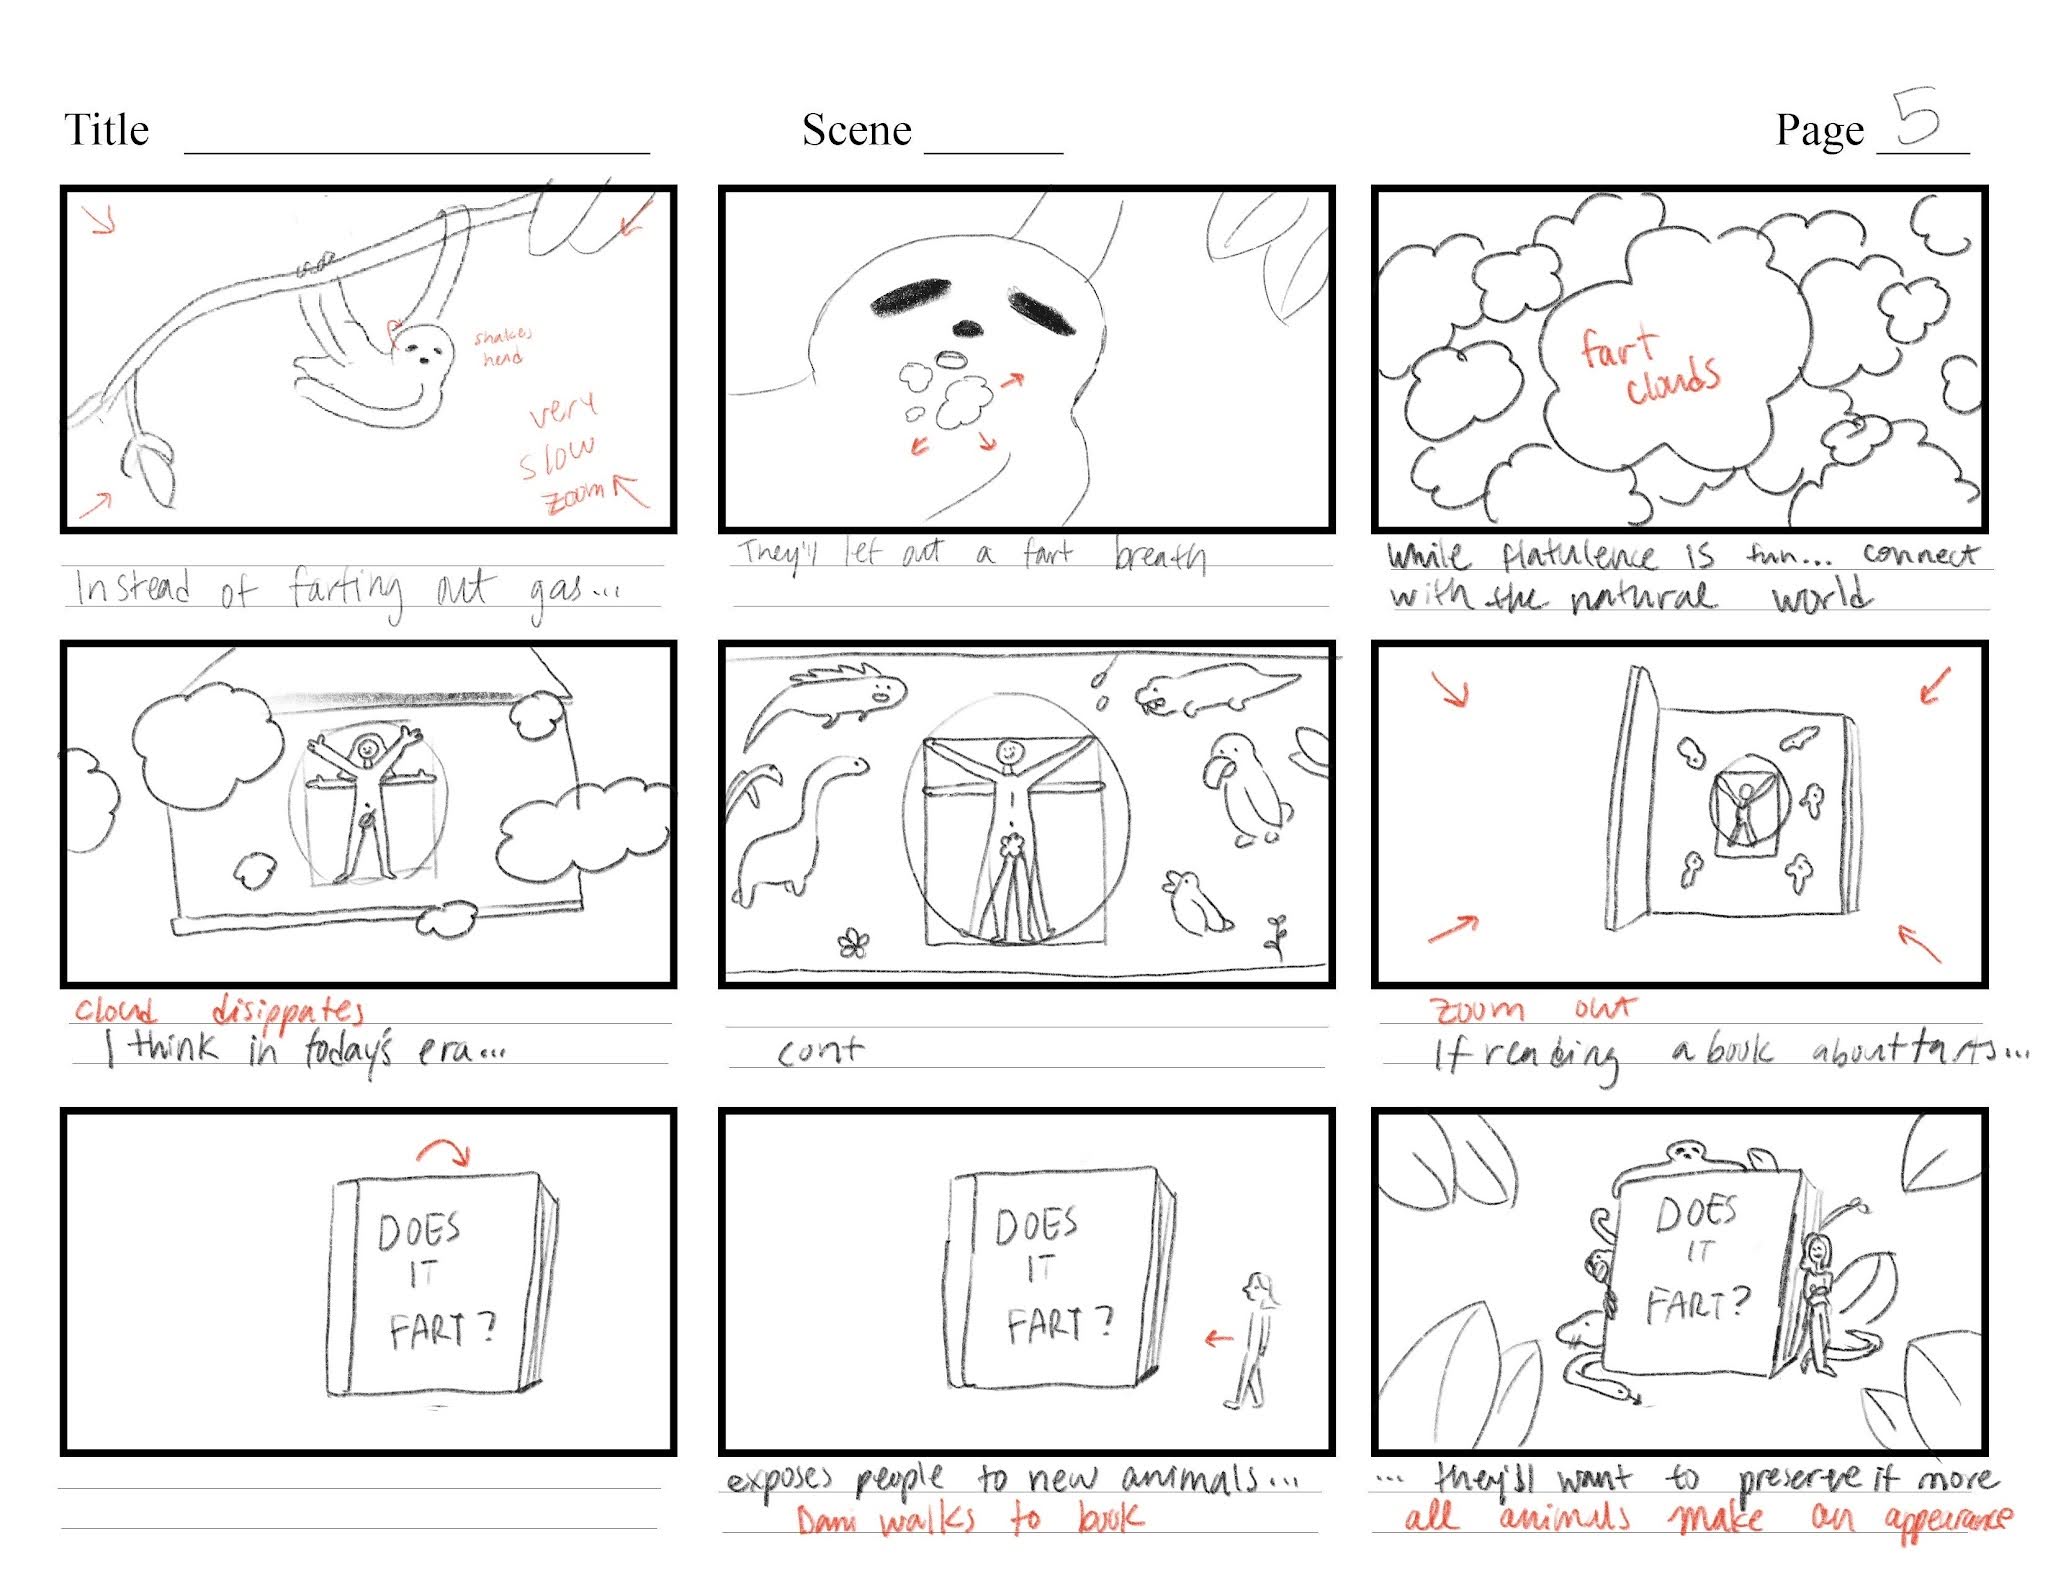
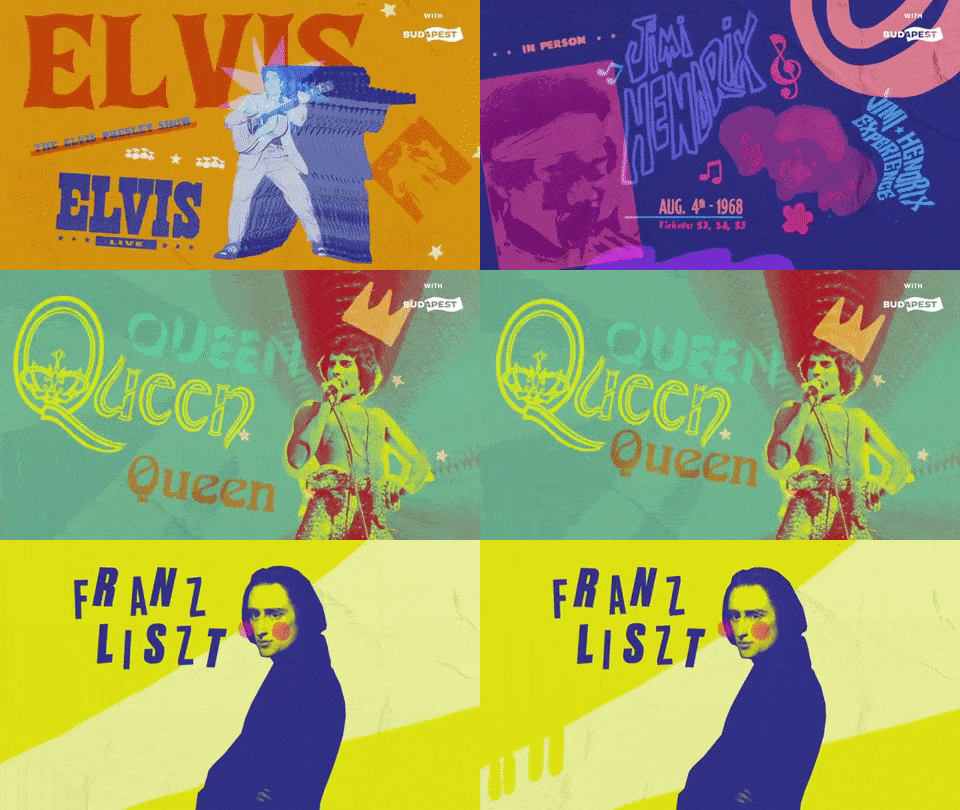
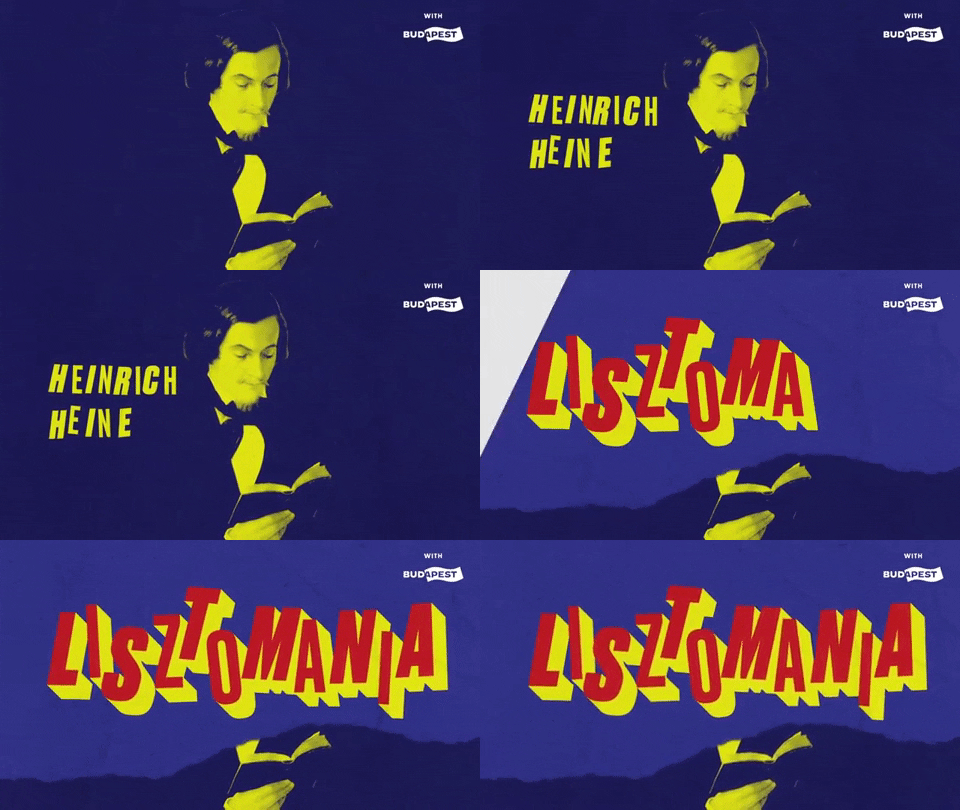
After going over the script with the producer, I worked on a mood board. Then, I quickly sketched out a storyboard, and an editor put together an animatic. Once the sound was locked, I began production.
This piece had a rapid turnaround. The supervising producer initially gave me two weeks to animate (!), but I asked for a half week extension. So, I had two and a half weeks for a three and a half-minute animation.


Visual development
The producer was drawn to images of vintage scientific illustrations. I was inspired by Terry Gilliam’s Monty Python animations, Victorian paper theater, and Sophie Koko Gate’s work. We decided on a paper cutout style for a faster turnaround, animating found images and illustrated elements in a limited style.
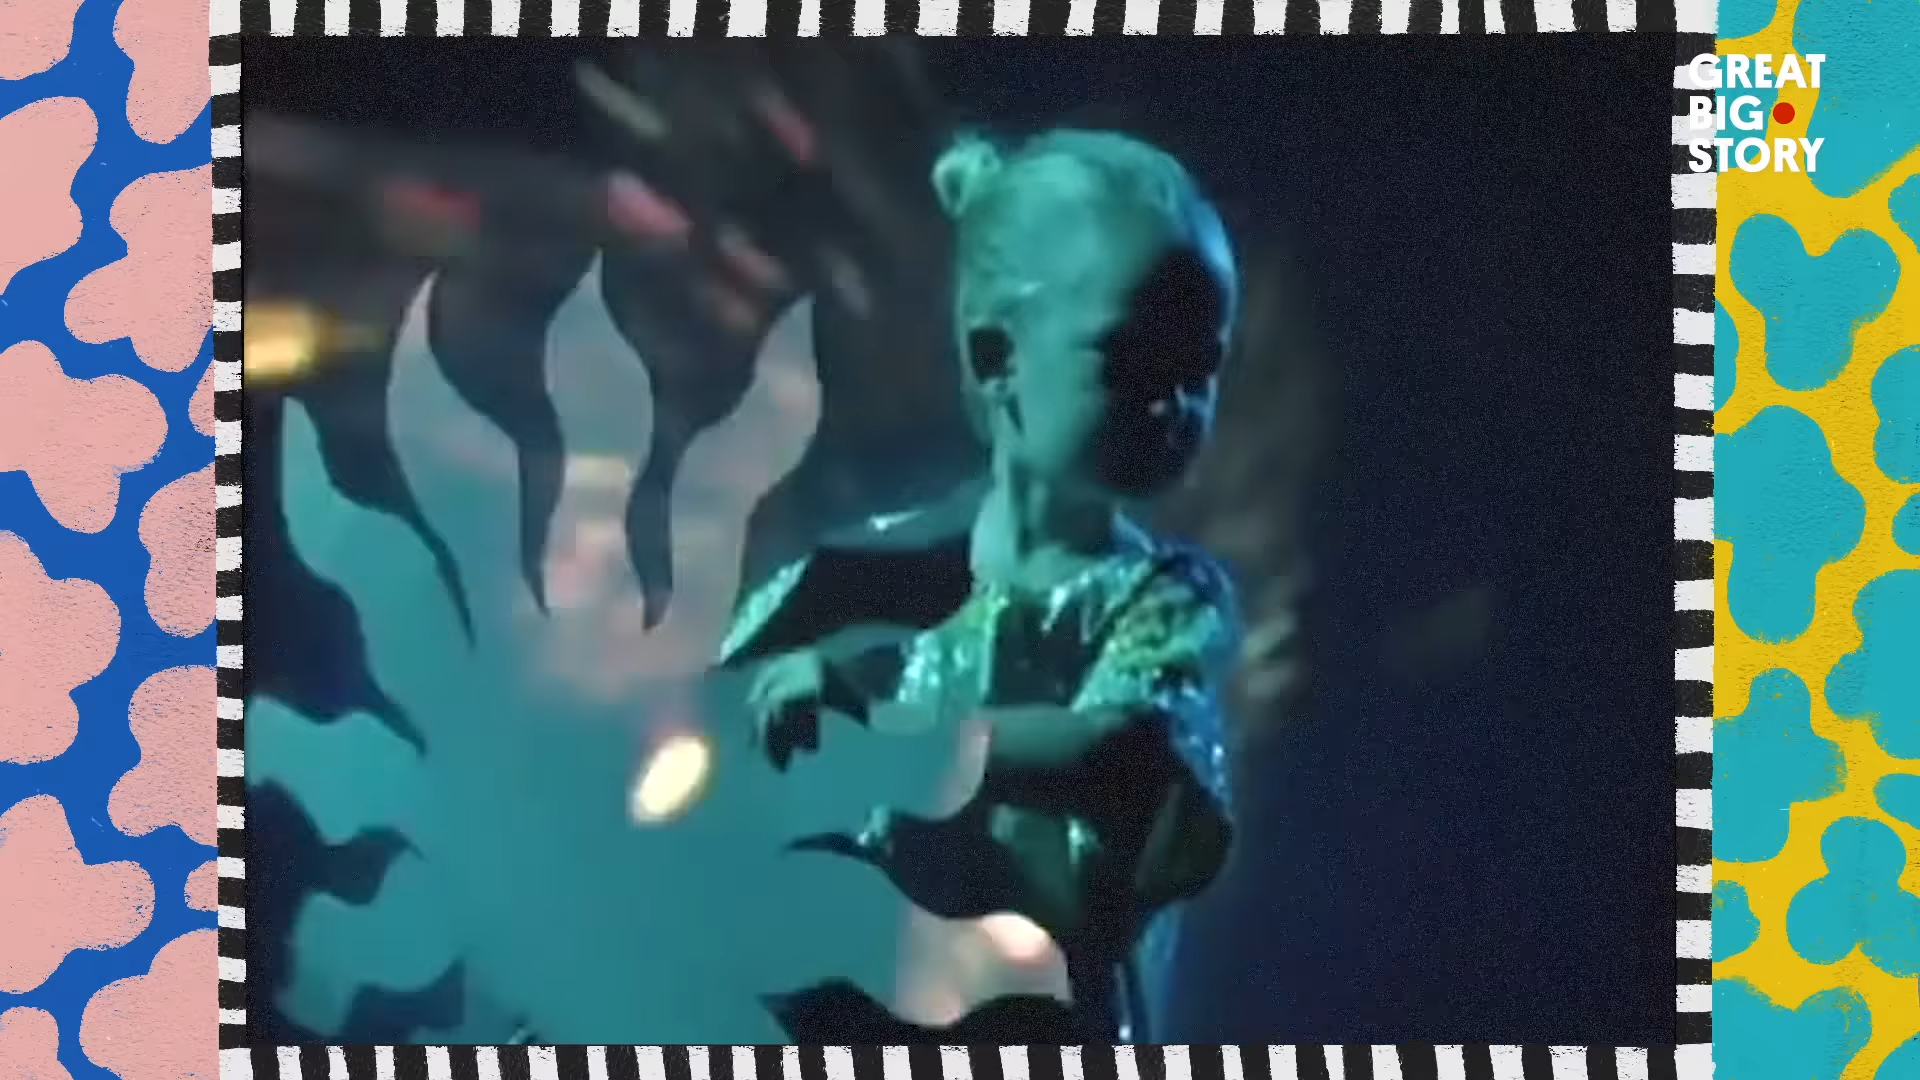
We also used actual photos of Dani and created a pseudo photo/illustration puppet. This was a quarantine workaround—the interview footage of Dani was not great, but we still wanted to feature her.
I wanted the piece to feel educational and playful, with an irreverent tone and a warm, vintage, papery feel. My main objective was to make the animation look as close as possible to a stop-motion paper cut out. To imitate this digitally, I added paper textures to flat vector illustrations and added shading using spray paint brushes.
I used a warm, desaturated palette, plucked from a vintage tea advertisement. I used these colors to create elements and to tint found assets.
I wanted all photographed/human elements to be black & white and textured with halftone, like a newspaper print, to contrast with the illustrated elements.

color palette
Techniques
I used Flickr’s public domain filter to find most of my scientific illustration assets. (Other stuff I randomly found on Google.) I cut out images in Photoshop and imported the PSD files into After Effects. This is more versatile than importing image exports, but it’s also more CPU-intensive.
I was mainly inspired by Terry Gilliam’s stop motion tutorial in coming up with a similar digital workflow. I created static assets and frame-by-frame animations in Procreate using textured spray paint brushes.
I was nervous about the shading looking inconsistent on playback, but the variations actually gave a nice, subtle, handmade texture!

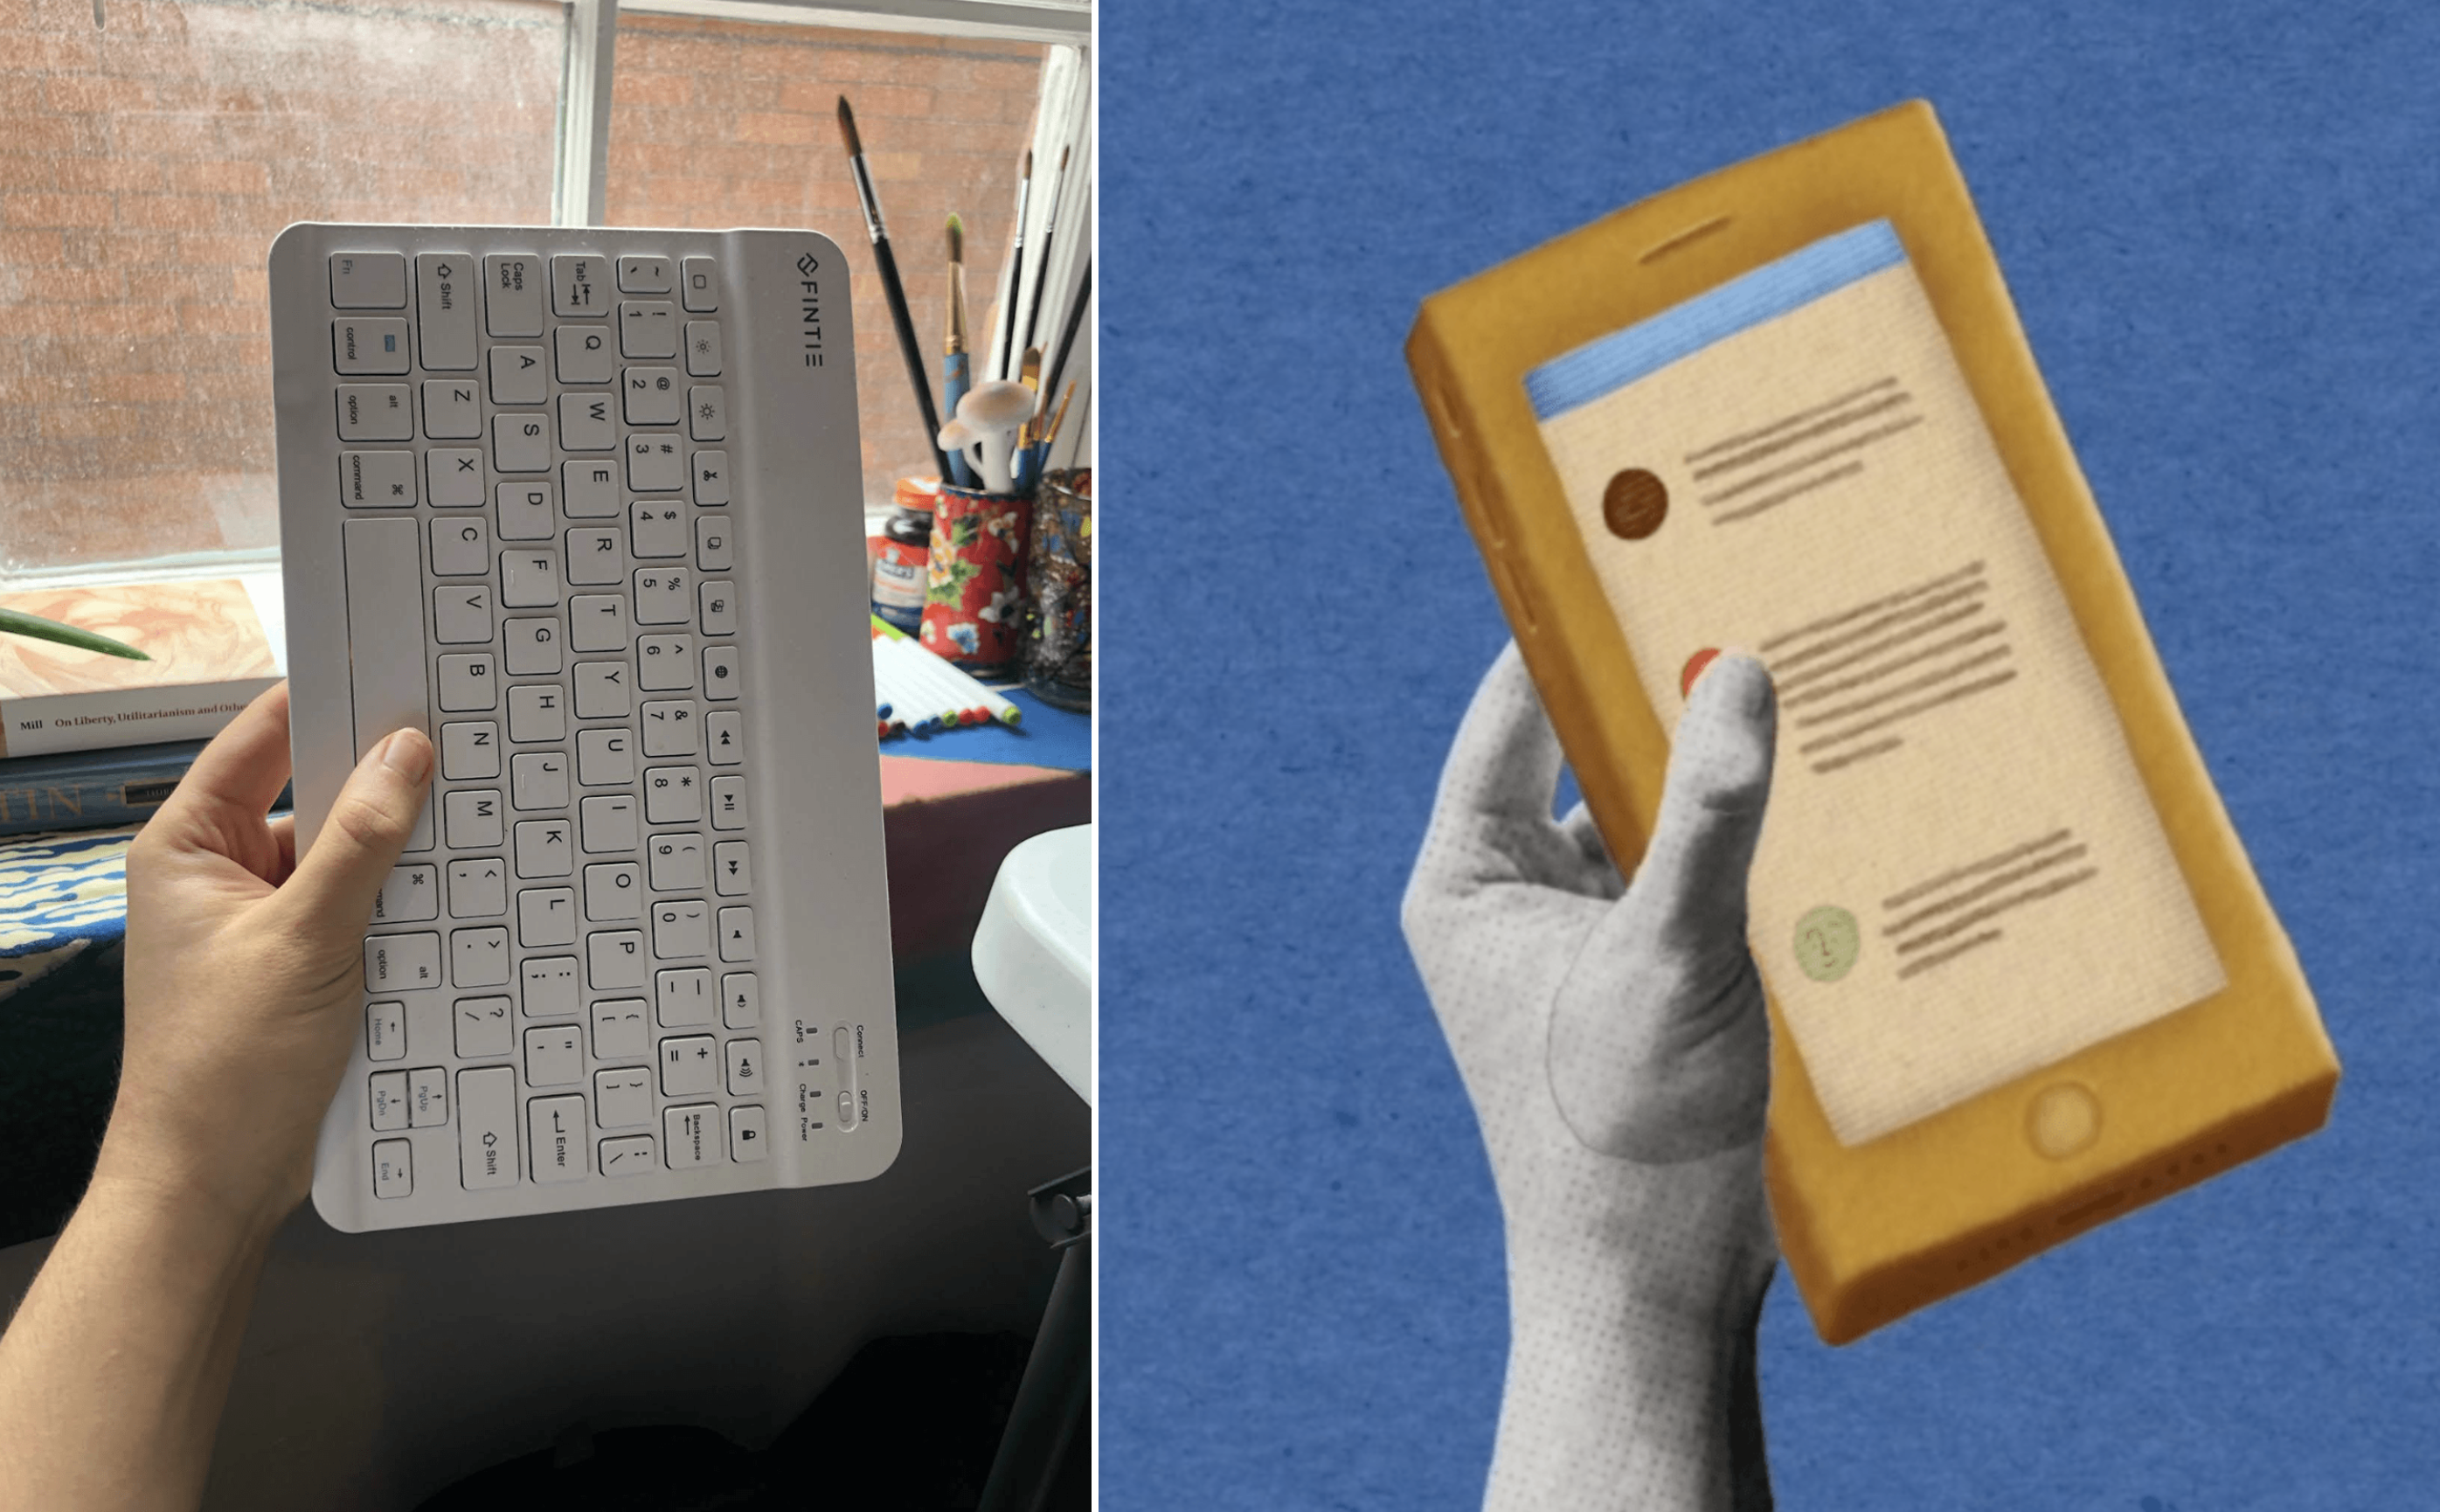
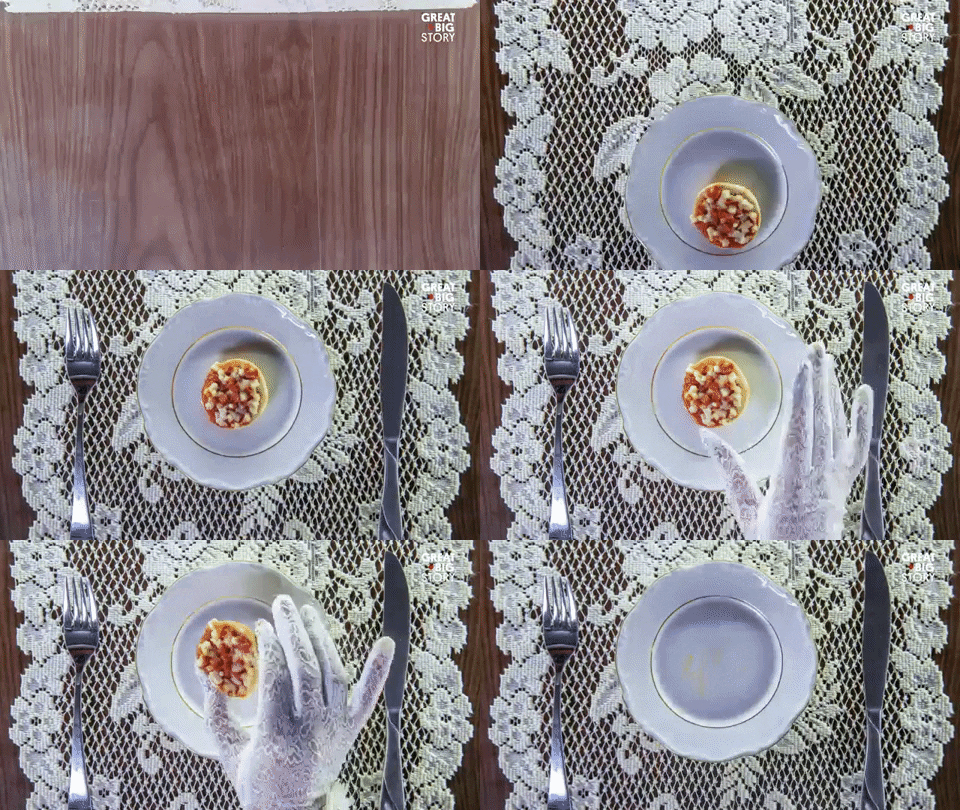
using my own hands to create puppet props
New things I learned
For more a natural-looking paper edge, I added a small bit of Bevel and Emboss to standalone assets—I learned how from this video by Ben Marriott.
I took photos of my own hands and used them as animation assets. I learned how to mask frame changes by switching at the midpoint of an overarching animation. I did this a lot for Dani’s facial expressions.
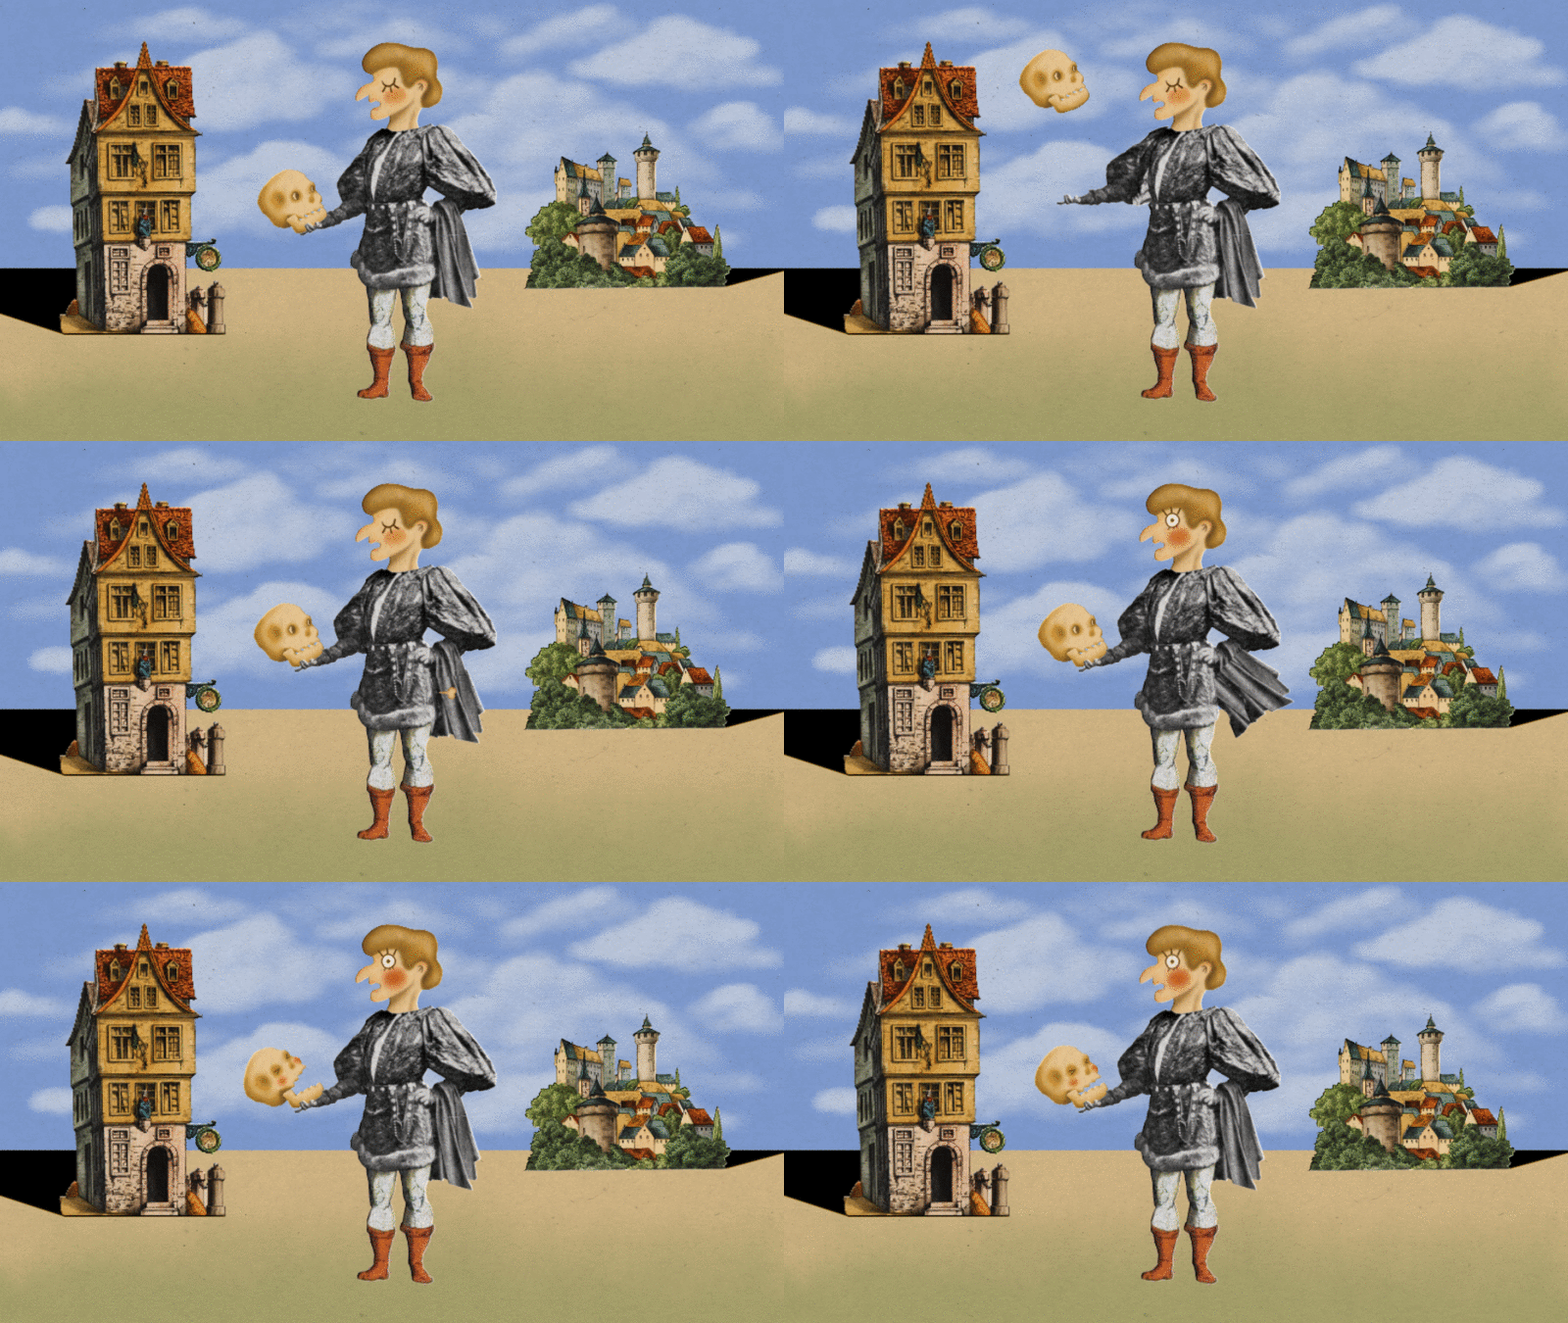
I occasionally added hold keyframes in place of easing. This technique gave a more accurate stop motion feel.
I had two techniques for objects with multiple moving parts. For simpler movements, I’d parent an object to the next animated asset, forming a train of parented objects. I did this for the pull-down chain and snake.
For for more complicated movements, I first keyframed the whole asset, then precomposed it. Within that precomp, I cut out and animated the secondary animation. I did this for the angry bear (at 02:18).

Thanks for looking!
